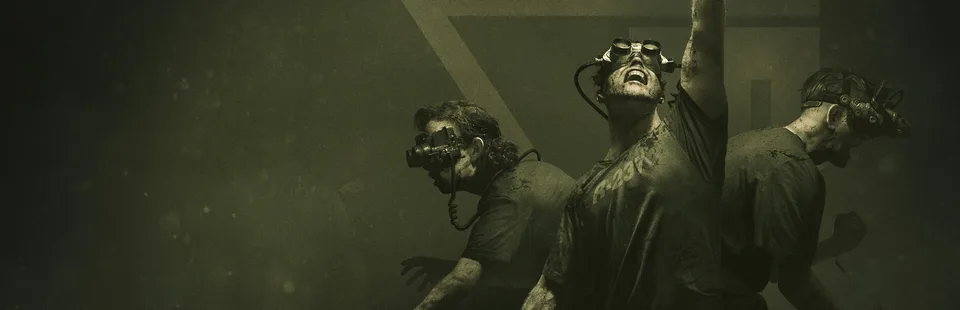
How to Poison the Cattle in The Outlast Trials: Full Guide
Master the Poison the Cattle trial in The Outlast Trials. Discover expert tips, puzzle solutions, and survival tactics to conquer this challenging mission.
Published: The Outlast Trials Wiki Editorial Team
Table of Contents
The Outlast Trials continues to redefine cooperative survival horror, and few challenges are as daunting as the mission to poison the cattle. Whether you are navigating the murky depths of The Docks or struggling against the relentless Prime Asset Franco Barbi, mastering how to poison the cattle requires precision, teamwork, and nerves of steel.
This trial is not just about brute force; it is a complex production line puzzle that demands high situational awareness. In this guide, we break down every phase of the mission, ensuring you and your team can navigate the chaos and emerge from the Murkoff facility with your lives intact.
Understanding the Poison the Cattle Trial Mechanics
Before diving into the mechanics, it is important to note that this mission is designed for those who have progressed through Core Therapy. The trial tasks you with producing a lethal substance while evading a dangerous enemy. Understanding the trial overview is the first step toward success.
Feature
Details
Primary Objective
Produce and distribute poisoned drugs
Prime Asset
Franco Barbi
Location
The Docks
Estimated Duration
45 Minutes
Key Threat
Ranged shotgun attacks
According to community reports, the difficulty of this trial lies in its length and the constant pressure exerted by Franco Barbi. Unlike other enemies in the game, his reliance on a shotgun makes long-range encounters particularly deadly. Always prioritize breaking line-of-sight when you hear his footsteps.
Phase 1: Securing the Initial Drug Supply
Your journey begins at the cooker. To start the production process, you must locate the drug storage area. Upon entering the main room, look for the revolving window near the sign labeled "Drugs."
Tip
Efficient Drug Handling
You can only carry two packages at a time. Coordinate with your team to have one person handle the red button while another retrieves the items from the revolving window to save precious seconds.
Once you have successfully placed the first two drugs into the cooker, the trial shifts to a puzzle-solving phase. You will need to use your Decoder to unlock the remaining supply. Look for televisions displaying symbols—usually eyes or skulls—and match them to the spray-painted images located throughout the environment.
Phase 2: Mastering the Decoder Puzzle
The Decoder is your most important tool in this segment. The password-locked safes are scattered across the train carts, and their locations change with every playthrough.
Decoder Strategy Checklist
Scan First: Identify the symbol on the TV screen before searching for the corresponding graffiti.
Proximity Matters: You must be standing relatively close to the painted image for the Decoder to register the code.
Team Synergy: While one player solves the puzzle, others should act as "lookouts" to distract or lure Franco Barbi away from the train tracks.
If you are playing solo, this phase becomes significantly more dangerous. Always ensure you have a clear path to a hiding spot, such as a locker or a dark corner, before attempting to decode a lock.
Phase 3: The Chemical Production Line
Once the drugs are processed, the next objective is to introduce the poison. This involves navigating the chemical room, which is a hazardous environment. Prolonged exposure to these fumes will rapidly deplete your health, making it essential to move quickly.
Hazard Level
Effect on Player
Strategy
Low Exposure
Minor vision distortion
Continue moving toward the goal
Medium Exposure
Health drain begins
Locate fresh air vents immediately
High Exposure
Critical condition/Death
Drop the canister and find a hiding spot
As noted by TheGamer's detailed walkthrough, the chemical storage area is massive and spans three levels. If you find yourself losing health, do not panic. Drop the canister—you can always come back for it later—and prioritize finding a "Stairs" door or a ventilation shaft to reset your status.
Survival Tactics Against Franco Barbi
Franco Barbi is not your average pursuer. His shotgun gives him a massive advantage in open areas. When attempting to poison the cattle, you will often find yourself in wide-open spaces near the boathouse.
Listen for the Shotgun: If you hear the distinct sound of a shotgun rack, immediately crouch or slide behind cover.
Use Distractions: Throw bottles or bricks to draw him away from the chemical storage entrance.
Communication: If you are playing in a group, use voice chat to call out his position. If he is camping the chemical supply, have one player bait him away while the others move the canisters.
Remember, the goal is to reach the Cargo Hold. The entrance to this area is located near the chemical storage sign. Activating the control room panel is the final gatekeeper for this mission, requiring you to hit the red button to lower the stairs.
Final Steps: Delivering the Payload
After you have collected at least six drugs, you must head to the Cargo Hold. This is the final stretch of the mission. You are required to manually insert the poisoned drugs into the bodies located within the hold.
This is the most vulnerable moment of the entire trial. Since you will be encumbered by the canisters, you cannot fight back effectively. Ensure your team covers the perimeter while you complete the final interactions. Once the quota is met, the exit will become accessible.
Frequently Asked Questions (FAQ)
Q: Can I complete the poison the cattle trial alone?
A: Yes, it is possible to complete this trial solo, but it is significantly more difficult. You must manage your own health, puzzle-solving, and evasion simultaneously. We recommend bringing at least one partner to help manage the workload.
Q: Where do I find the fresh air in the chemical storage?
A: Look for doors marked "Stairs" or panels that lead to the basement. These areas are typically free of chemicals and allow your health to regenerate.
Q: Does Franco Barbi follow me into the Cargo Hold?
A: Yes, the Prime Asset is capable of following you into most areas of the map. Always keep an eye on your surroundings, even when you think you are close to the end of the trial.
Q: What are the rewards for completing this mission?
A: Successful completion typically grants 1000 XP, 2 Reborn Tokens, 6 Catalog Tokens, and a random cosmetic item to customize your character.