
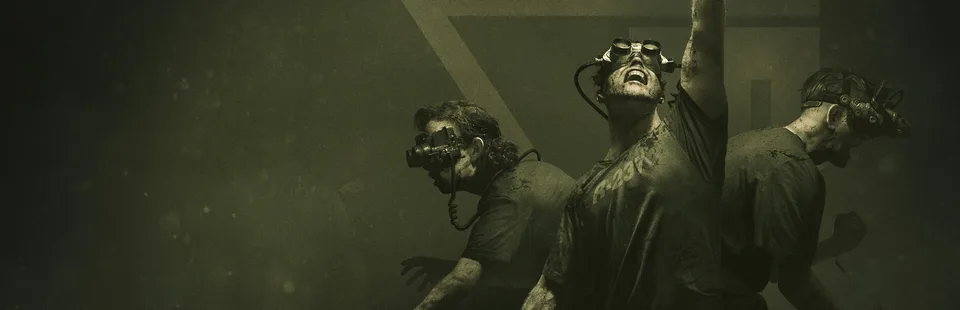
The Murkoff Corporation’s experiments have taken a twisted turn with the introduction of the Television Studio environment. If you have been struggling to make progress, you are not alone; Silence the Idol is a complex, multi-stage trial that demands coordination, stealth, and a keen eye for detail. Unlike some of the more straightforward challenges in The Outlast Trials, this mission forces you to juggle multiple objectives across four distinct studio sets while managing a persistent, aggressive enemy presence.
In this guide, we will break down everything you need to know about Silence the Idol, from navigating the intricate studio puzzles to surviving the relentless pursuit of the Kress twins. Whether you are playing solo or with a squad, understanding the flow of this trial is the key to escaping with your life—and your sanity—intact.
Understanding the "Silence the Idol" Environment
The TV Studio map is one of the most mechanically dense environments in the game. It is not just about running and hiding; it is about manipulating the environment to sabotage the broadcast. The trial centers around "The Idol," a character you must escort and eventually silence. The atmosphere is thick with dread, and the multi-floor layout adds a layer of verticality that many other maps lack.
According to community reports, the map's strength lies in its narrative storytelling. As you progress, you will notice the Idol’s condition deteriorating, mirroring the cruelty of the Murkoff experiments. However, do not let the story distract you from the danger. The environment is designed to trap you, with narrow corridors and specific areas where sound management is critical. You can find the official game page for The Outlast Trials here for the latest updates and patch notes.
[TIP]
Mastering the Flow Treat each studio as a mini-trial. Do not rush into the next area until you have secured your path and checked for nearby threats. Patience is your greatest weapon in the TV Studio.
Step-by-Step Walkthrough: The Four Studios
Success in Silence the Idol requires a systematic approach. You are essentially moving through four different television sets, each requiring unique puzzle-solving skills. Below is a breakdown of the objectives you will face in each studio.
| Studio | Theme | Primary Objective | Key Hazard |
|---|---|---|---|
| Studio 1 | News Set | Align stage lights and use the blacklight. | Lobby Grunt patrol |
| Studio 2 | Cooking Show | Position mannequins and props. | Noise-sensitive puzzles |
| Studio 3 | Medical Drama | Complex prop alignment and switchboard codes. | The "Big Grunt" in Actors Dept |
| Studio 4 | Talk Show | Cassette conversion and approval rating. | Kress Twins' aggression |
In Studio 1 (The News), you must use the director's camera plan to position equipment. The puzzle involves moving objects along yellow rails. Use your blacklight to find codes hidden on the walls or floor. Once the set is ready, sabotaging the recording is as simple as activating the stage light to overheat the equipment.
In Studios 2 and 3, the difficulty ramps up. The "Cooking Show" and "Medical Drama" sets require more precise object placement. You will need to move mannequins and cameras to face the Idol. Always ensure you have cleared the area of Ex-Pop before starting these, as the noise of pushing objects is a beacon for nearby enemies.
Managing Power and Batteries
One of the most tedious sections of Silence the Idol occurs after you finish Studio 2. You will reach a gate that requires power to open. This is where many players struggle, especially solo, because the objective does not scale down significantly. You must find batteries and return them to the Rechargeable Stations.
| Battery Type | Point Value | Efficiency Rating |
|---|---|---|
| Small Battery | 35 | Low (Requires more trips) |
| Large Battery | 100 | High |
| Battery Booster | 150 | Essential (Instant completion) |
Community feedback highlights that the battery objective can feel like a chore if you are unprepared. If you are playing in a squad, split up to cover different floors. If you are solo, prioritize finding Large Batteries immediately. The battery booster is a game-changer here; if you have one, save it for the station that requires 150 points to save yourself a massive amount of running back and forth.
[WARNING]
The Battery Trap Avoid searching for batteries while the Kress twins are actively patrolling your current floor. They are highly sensitive to movement. If you hear them, drop what you are doing and hide. It is better to lose a few minutes of time than to get caught in a dead-end corridor.
Navigating Enemy Threats
The enemies in this trial are particularly punishing. The "Studio Grunt" is notorious among players for being significantly more aggressive than the Grunts found in other trials. They patrol almost constantly, making stealth difficult.
The Kress twins (Otto and Arora) add another layer of complexity. They are not just standard enemies; they are the sponsors of the studio and take their "show" very seriously. They possess effective 360-degree vision, which makes traditional "breaking line of sight" tactics less effective in open, well-lit areas.
Survival Strategy Table:
- Studio Grunt: Treat this enemy as a constant threat. If you are in the Lobby or Backstage, assume he is nearby. Use rigs like the Stun or Blind to create gaps.
- The Kress Twins: They are most dangerous in the final act. During the cassette conversion, they will be drawn to the noise. Do not attempt to convert cassettes while they are in the immediate vicinity.
- Stealth vs. Aggression: In this trial, pure stealth is hard. You will often need to use gadgets to create diversions or to stun enemies while you finish a puzzle.
Advanced Tips for "Silence the Idol"
To truly master Silence the Idol, you need to think like a producer. Everything in this trial is a performance, and you are the one sabotaging the set. Here are a few advanced tips derived from player experiences:
- The Cassette Converter: When you reach the Talk Show, the cassette converter is your loudest tool. It attracts enemies like a magnet. Before you start converting, ensure you have a clear exit route. Do not start the process if you hear the twins nearby.
- Blacklight Usage: The blacklight is essential for finding codes, but enemies do not react to the light beam itself. You can shine it safely, but be mindful of the noise you make while moving.
- The Finale: In the final stage, when you need to lower the approval rating to 0%, do not rush. Take the time to identify all required cassettes first. If you try to do them one by one, you risk being cornered by the twins.
- Looping: If you are chased, use the stairs and the multi-floor layout to your advantage. The twins have pathing limitations; use the ledges and vaulted areas to force them to take longer routes.
Frequently Asked Questions (FAQ)
Q: Is Silence the Idol the hardest trial in The Outlast Trials? A: While difficulty is subjective, many players consider it one of the most challenging due to the constant threat of the Studio Grunt and the complex, multi-stage nature of the puzzles. It requires more coordination than earlier trials.
Q: Do I need to be in a group to beat Silence the Idol? A: No, it is entirely possible to complete it solo. However, the battery objective is significantly more tedious alone. If playing solo, focus on map knowledge to minimize backtracking and always prioritize finding large batteries.
Q: Why do the Kress twins seem to find me so easily? A: The Kress twins have a unique "effective 360 vision" mechanic. They are less susceptible to traditional stealth approaches compared to other enemies. In well-lit areas, they will spot you from much further away than you might expect.
Q: Any tips for the cassette conversion part? A: The cassette converter makes significant noise. Always clear the area of patrolling enemies before you start the conversion. If you are playing with a team, have one person act as a "lookout" or "bait" to draw the twins away while the others focus on the objective.
By following these strategies, you should find yourself better equipped to handle the horrors of the TV Studio. Remember, the key to surviving Silence the Idol is preparation and patience. Don't let the pressure of the broadcast get to you—stay focused, manage your resources, and keep moving.